Getting up in the morning knowing that a good cup of coffee awaits you is undoubtedly one of life’s indispensable pleasures. But what if cappuccino was there instead of coffee? Plunging your mouth into that soft mountain of foam, savouring the sublime combination of milk and coffee is a delicious ‘cuddle’ that few can resist.
In order to enjoy the privilege of a cappuccino, however, the vast majority of people limit themselves to going to the café before going to work, thus foregoing the possibility of having it in the quiet intimacy of their own kitchen.
And to think that all it takes to enjoy a delicious home-made cappuccino is to know how to froth milk for a cappuccino: an indispensable operation that can be carried out in various ways, and in this article, we will explain them all to you.
The secret of perfect whipping: choosing the right milk
The reason why many people give up drinking their homemade cappuccino is because they have tried to froth the milk, but have had a rather disappointing result, leading them to give up this privilege forever. The truth, however, is that the blame for these failures (which happen more often than one would think!) lies with the wrong choice of milk to be whipped, as not all types of milk lend themselves to this operation.
More specifically, to be properly whipped, milk should contain a good amount of fat, about 3.8%: a percentage that can only be found in whole milk. This, in fact, is the only type of milk that lends itself well to being whipped, unlike skim milk (partly or wholly) which, on the contrary, is not suitable for the purpose.
The good news, however, is that should you follow a vegan diet, you can opt directly for vegetable milk: another type that lends itself very well to frothing. And the same goes for oat, almond and soya milk. The latter, in particular, guarantees you absolutely flawless whipping, thanks to the lecithin it contains.
So, in conclusion, the first secret to perfect whipping is to make it with the right type of milk. The second is to find the best way to create a luscious foam!
How to whip milk at home using 3 different systems

Since we know about coffee, we are well aware of the great potential of this beverage, which can be enjoyed either alone or with milk. If the milk is whipped to create that fluffy foam that we like so much, then the pleasure is truly assured!
So let’s find out together how to whip milk effectively using the systems we have specially found and selected for you.
How to whip milk with whisk and beater
Have you ever whipped egg whites to stiff peaks? If this expression sounds familiar, know that you can do the same with milk. Just heat it in the saucepan until it reaches a temperature of at least 65°, then pour it into a bowl and whip it with an electric whisk.
Within a couple of minutes, you will have a foam that will be just as good as at the bar! Alternatively, you can also use a whisk – a tool that runs on batteries and allows you to achieve exactly the same result.
How to whip milk with household appliances
If you don’t like to struggle, you can easily avail yourself of the convenience of household appliances, some of which function as excellent ‘milk whippers’. One of them, in this respect, is undoubtedly the microwave oven, which is really simple and straightforward to use.
To froth milk with this now ubiquitous appliance, simply pour it into a jar, close the lid and ‘shake’ it vigorously for about thirty seconds. Then you have to open the jar and heat it in the microwave for the same amount of time: the result will leave you speechless!
If you do not have a microwave oven, however, you can use a simple immersion blender and an appropriate container. The secret, in this case, is to blend repeatedly for 2 minutes at small intervals until you obtain a foam of the desired consistency.
Finally, an equally good solution is to use the bimby, which you can use directly to prepare the cappuccino. To do this, you only need to calculate about 150 grams of milk per cup, to be added together with the coffee. Once this is done, you will need to set the coffee to 60° for 4 minutes… and voila! Your cappuccino is ready to be enjoyed!
How to whip milk with DIY systems
In case you are completely without the above-mentioned tools and appliances, you should not despair. Believe it or not, it is also possible to obtain a good foam with a more ‘artisanal’ system, which involves a lot of effort and… a plastic jar/bottle (but glass is also fine).
The idea behind this trick is as simple as it is ingenious and involves pouring hot milk into the jar or bottle. After this, you simply have to improvise yourself as an ‘acrobatic barman’ and enjoy ‘shaking’ as much as you can until you see the milk turn into foam.
To be fair, this system is the most ‘homemade’ of all, which is why you shouldn’t expect as good a result as with the previous systems. But then again, if all you have at your disposal is a plastic bottle, you either have to make do with it… or go straight to the bar!
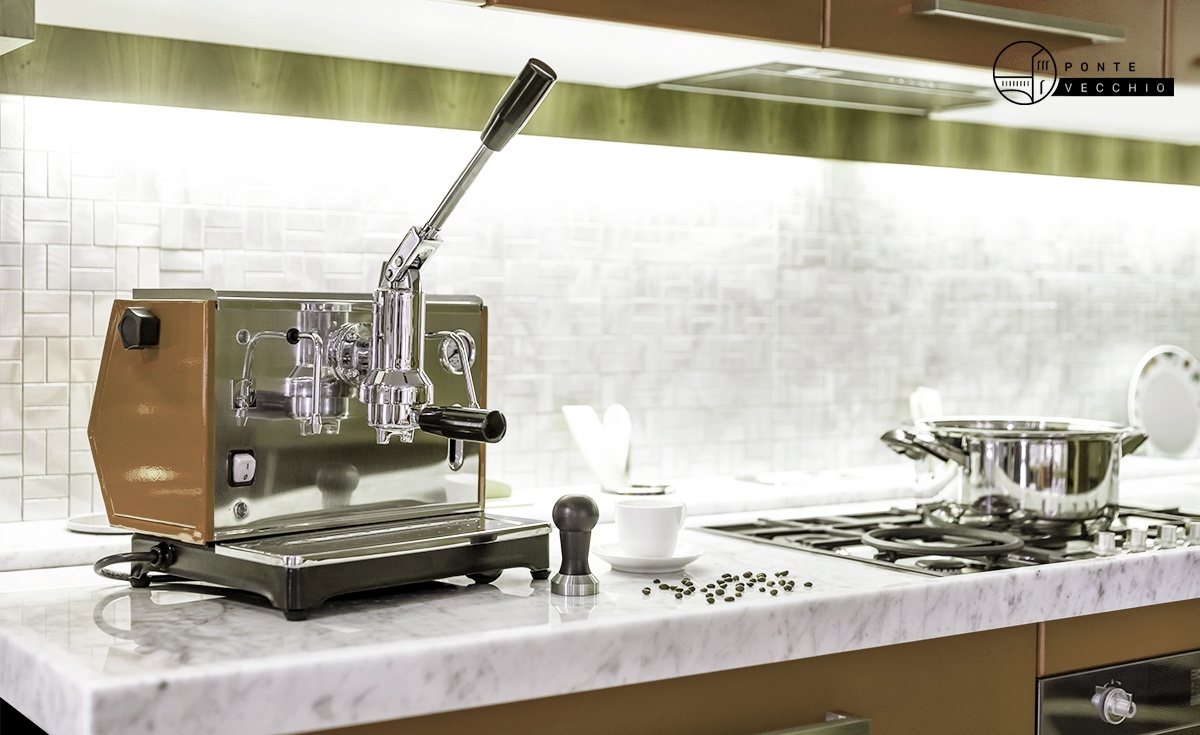
How to whip milk at home with a coffee machine

In addition to the systems, we have illustrated so far, there is also another particularly effective one that requires a fundamental ally: the coffee machine.
More precisely, it must be a model equipped with a milk jug (the container in which you will prepare your cappuccino) and a steam wand: an indispensable tool for the correct whipping of milk. Once you have procured the necessary equipment, therefore, you will have to stick to this procedure:
- First clean the steam wand of the machine well before inserting it into the milk jug, as residues can give a bad taste to the drink and hot milk.
- Pour the milk into the jug (do not exceed half the capacity) and insert the lance.
- Warm the milk for about 30 seconds while keeping your hand on the rim of the milk jug to check the heating: the temperature of the milk is very important and should be 37°. When you instinctively feel like removing your hand because you feel the metal of the creamer is too hot, it means that you have reached an internal temperature of 55/60°, which is the correct temperature for this stage, as the foam will then have time to cool down.
- To obtain a foam without air bubbles, and therefore perfect, it is important to insert the lance in the middle of the milk jug while it is heating up with steam.
- Then, once the heating has finished, it is important to clean the lance again while the milk cools down: keeping your coffee machine properly clean is crucial for the quality of your drinks.
- Once you have cleaned the lance, make circular movements with the milk frother to remove the last bubbles and to even out the froth.
- Now it is time to pour your froth into the cup where you previously poured the espresso you made with your coffee machine. This must clearly be larger than a normal coffee cup and it is essential that the pouring stage respects a few simple rules. You must be careful to tilt the cup when pouring the foam, making sure to reduce the tilt as the cup fills up. Just like good bartenders do with draught beer. This way you will be even more sure of getting a thick, airless cream.
As you can see for yourself, this is a more complicated procedure than the ones we explained to you earlier, but that certainly does not make it impossible to implement. The secret, in fact, is on the one hand to train yourself, and on the other hand to use a machine worthy of the name.
After all, if you want to drink a good cup of coffee, you should do it with the right machine: a concept that applies even more to cappuccino which, as we have amply demonstrated to you, needs to be prepared with the right tools in order to come out right. And what better tool is there than a coffee machine with all the necessary options to prepare this exquisite drink?
What you need to do, therefore, is to discover the right coffee machine for you: the one that can ensure you both a bar-worthy espresso and the softest-foamed cappuccino you could wish for!
